
In this post
Why I started this project
For a long time I’ve wanted to see how my heating system actually behaves through the day: the flow and return temperatures, burner activity, heating demand, and efficiency trends over time.
The goal was to get that data into Home Assistant so I could see performance, spot patterns, and eventually schedule heating around real conditions instead of guesswork.
My boiler, a Vaillant EcoCompact VSC266, already has an eBUS interface, a two-wire communication system used across many Vaillant and related heating systems. So reading live operational data, and even sending control signals, was possible.
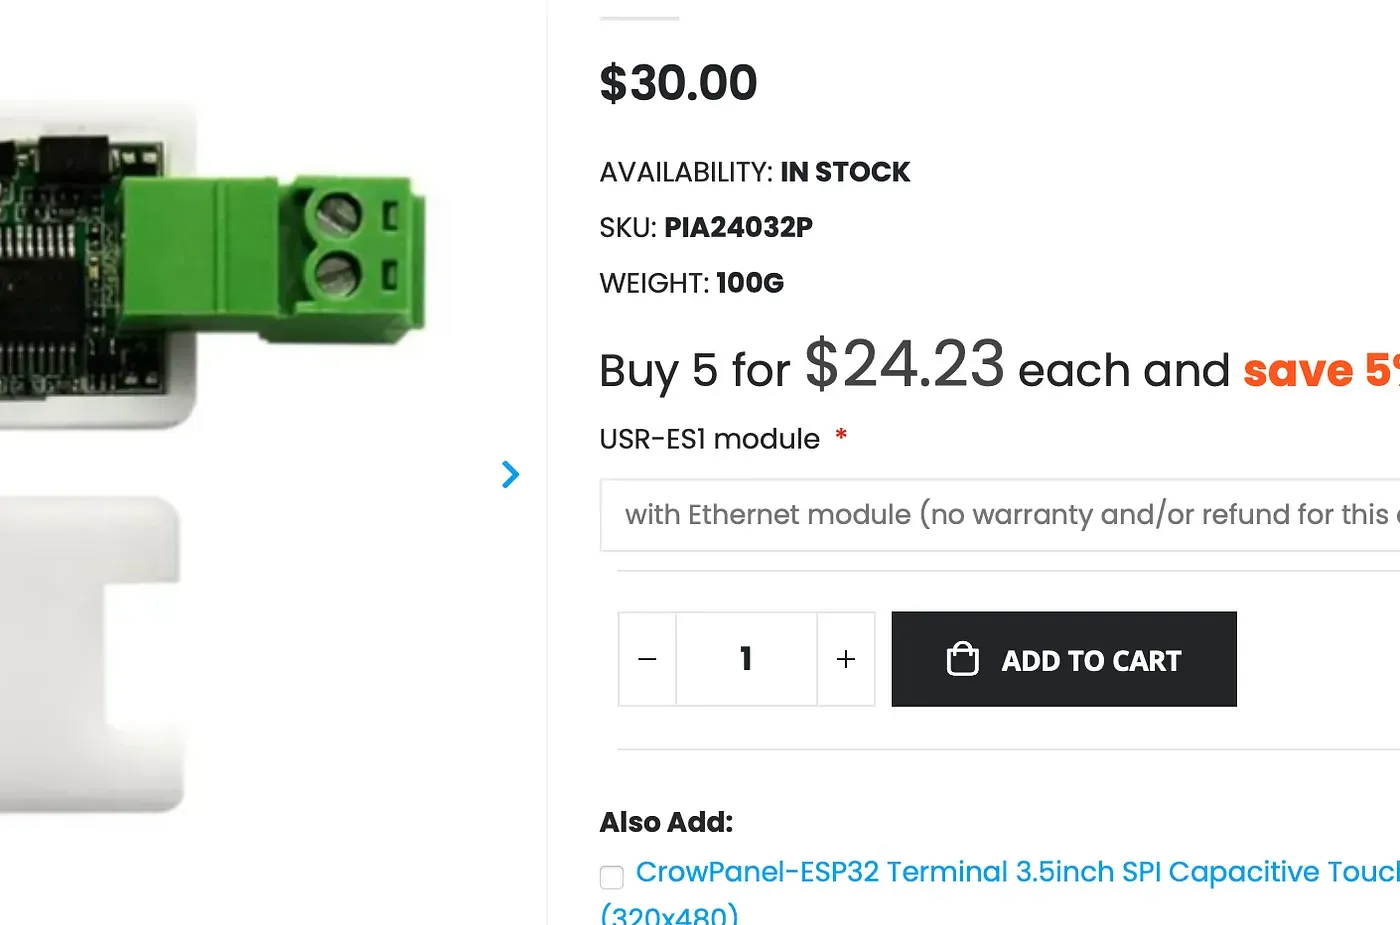
To make the connection I bought an eBUSd USB Stick v6 (Type-C) with USR-ES1 module along with the matching eBUS Adapter Shield. The shield comes with a 3D printed case and connects directly to the boiler’s eBUS terminals. The stick handles galvanic isolation and USB or network connectivity.
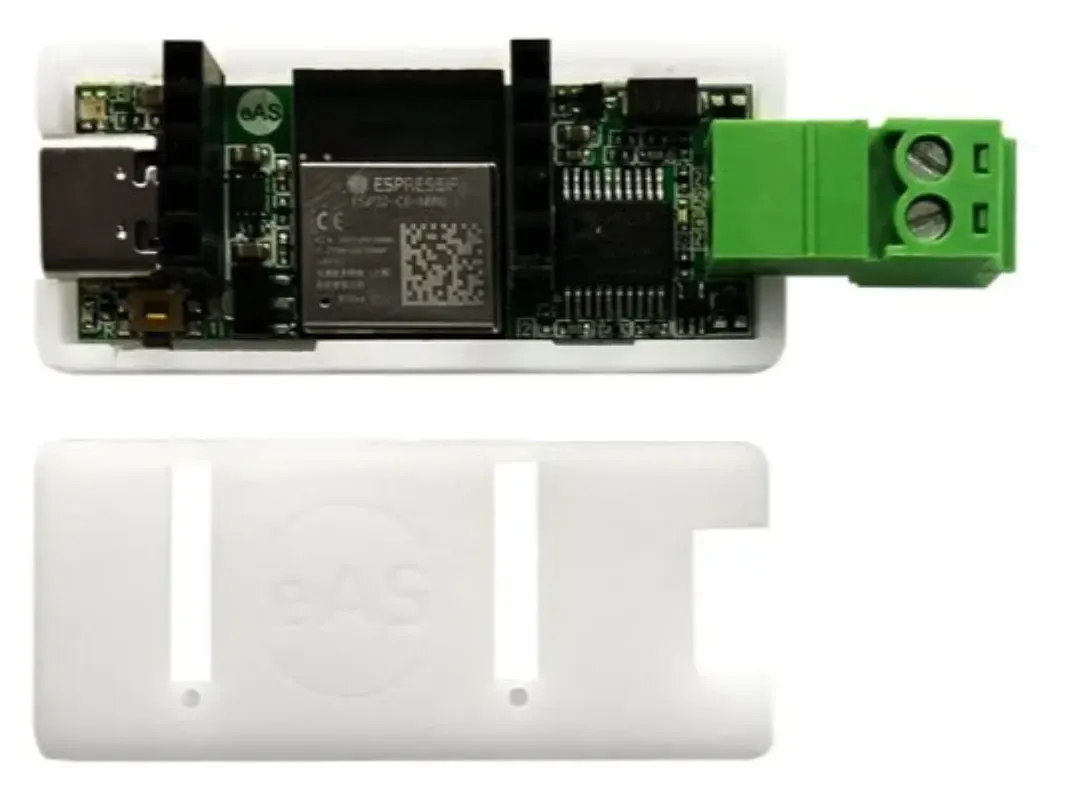
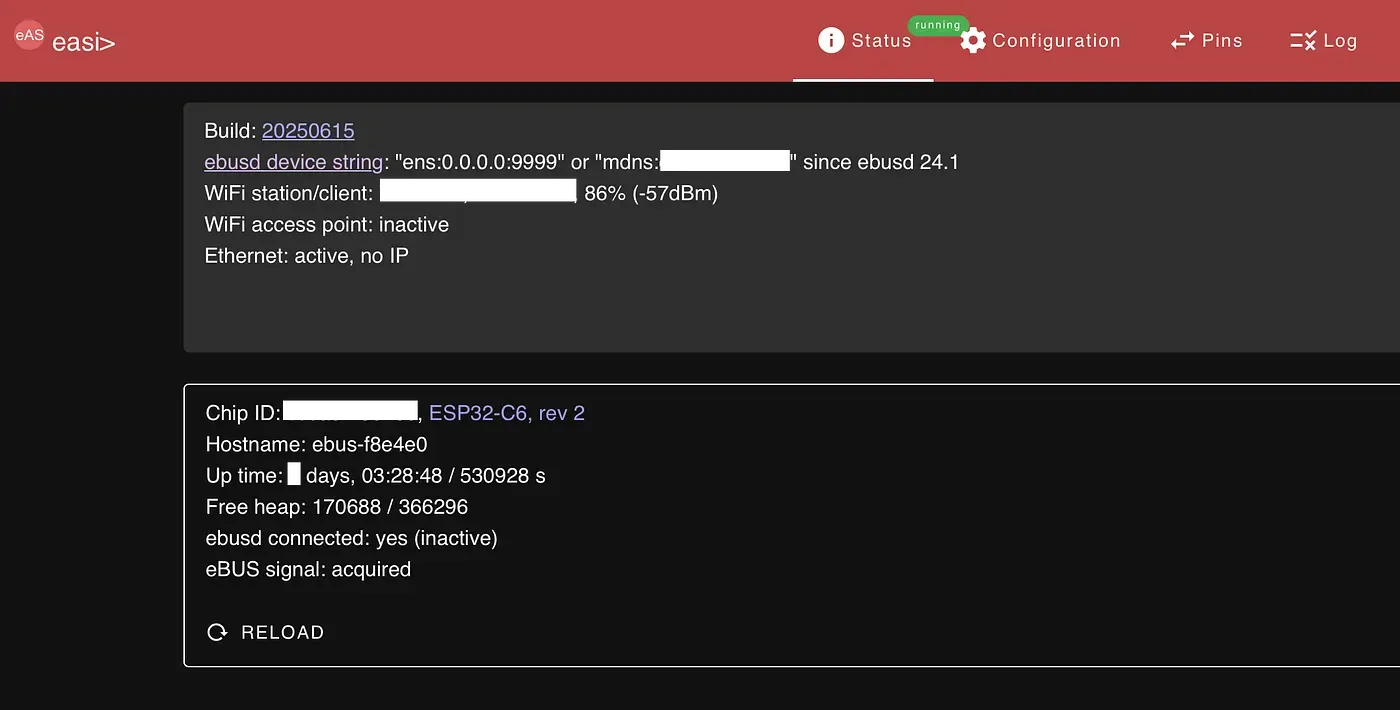
After flashing the latest firmware onto the stick, I put it on my home network and set up a small Linux host to run eBUSd, an open-source daemon that talks to the eBUS and publishes the boiler’s data over MQTT. Then I connected that MQTT feed to Home Assistant. Temperatures, burner state, operating mode, all of it showing up as live sensors.
Understanding the eBUS interface
eBUS (Energy Bus) is a communication protocol used by many European heating systems, particularly Vaillant, Saunier Duval, and Wolf. It lets heating modules such as boilers, thermostats, and solar controllers talk to each other over the same two-wire bus.
On a Vaillant EcoCompact you’ll find a pair of labeled terminals on the control board, usually marked “eBUS”, “BUS”, or “+ / -”. These are low-voltage terminals and must never be connected to mains power.
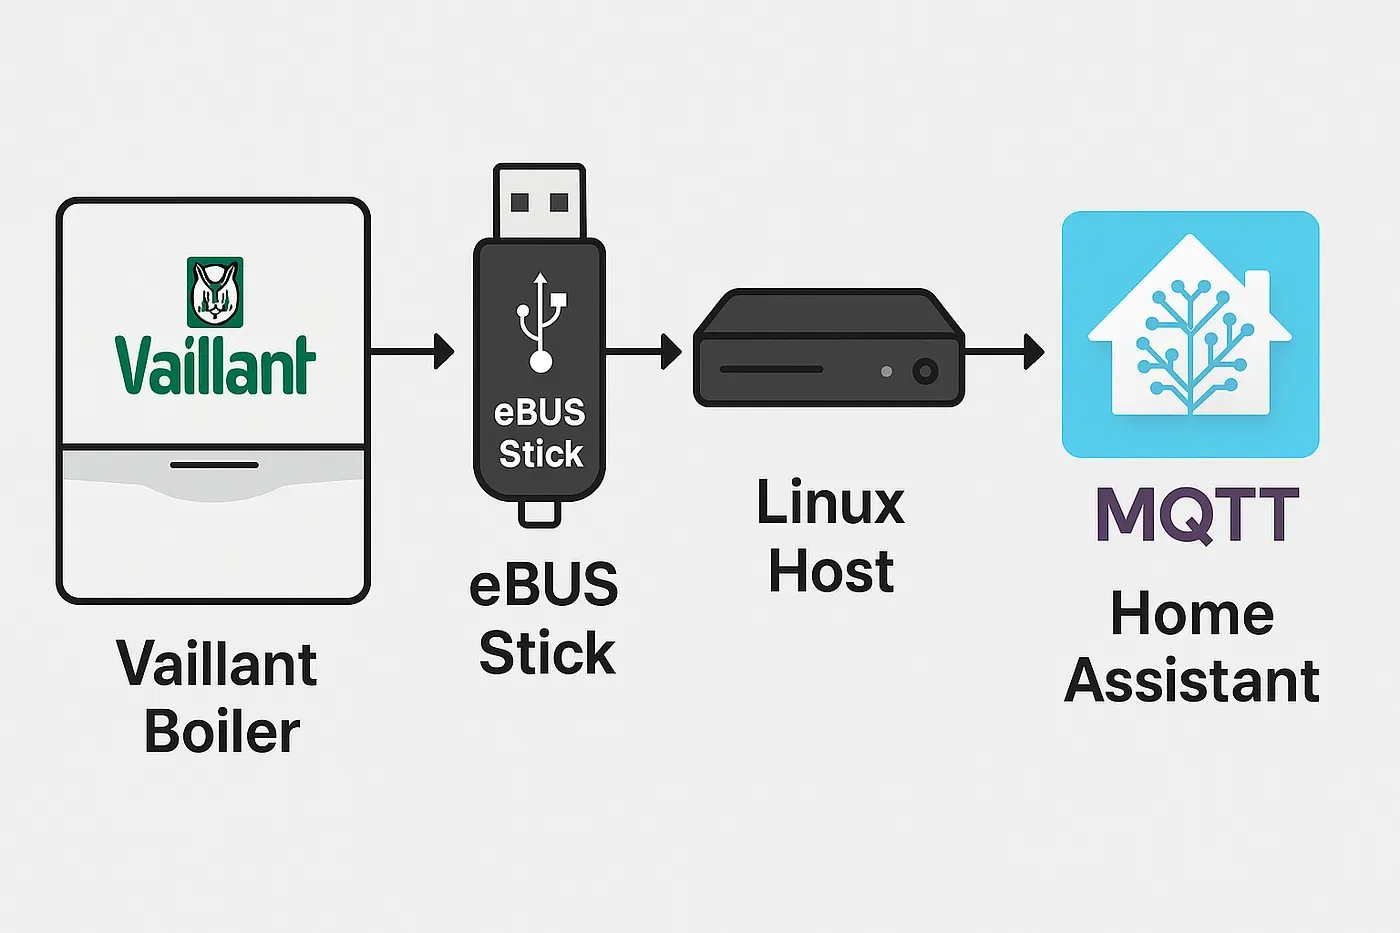
Connecting the boiler to the eBUSd stick
Get the physical connection right before you touch any software. eBUS runs a 15 to 20 V DC differential bus shared between every connected device, so you need proper electrical isolation and clean signal transmission.
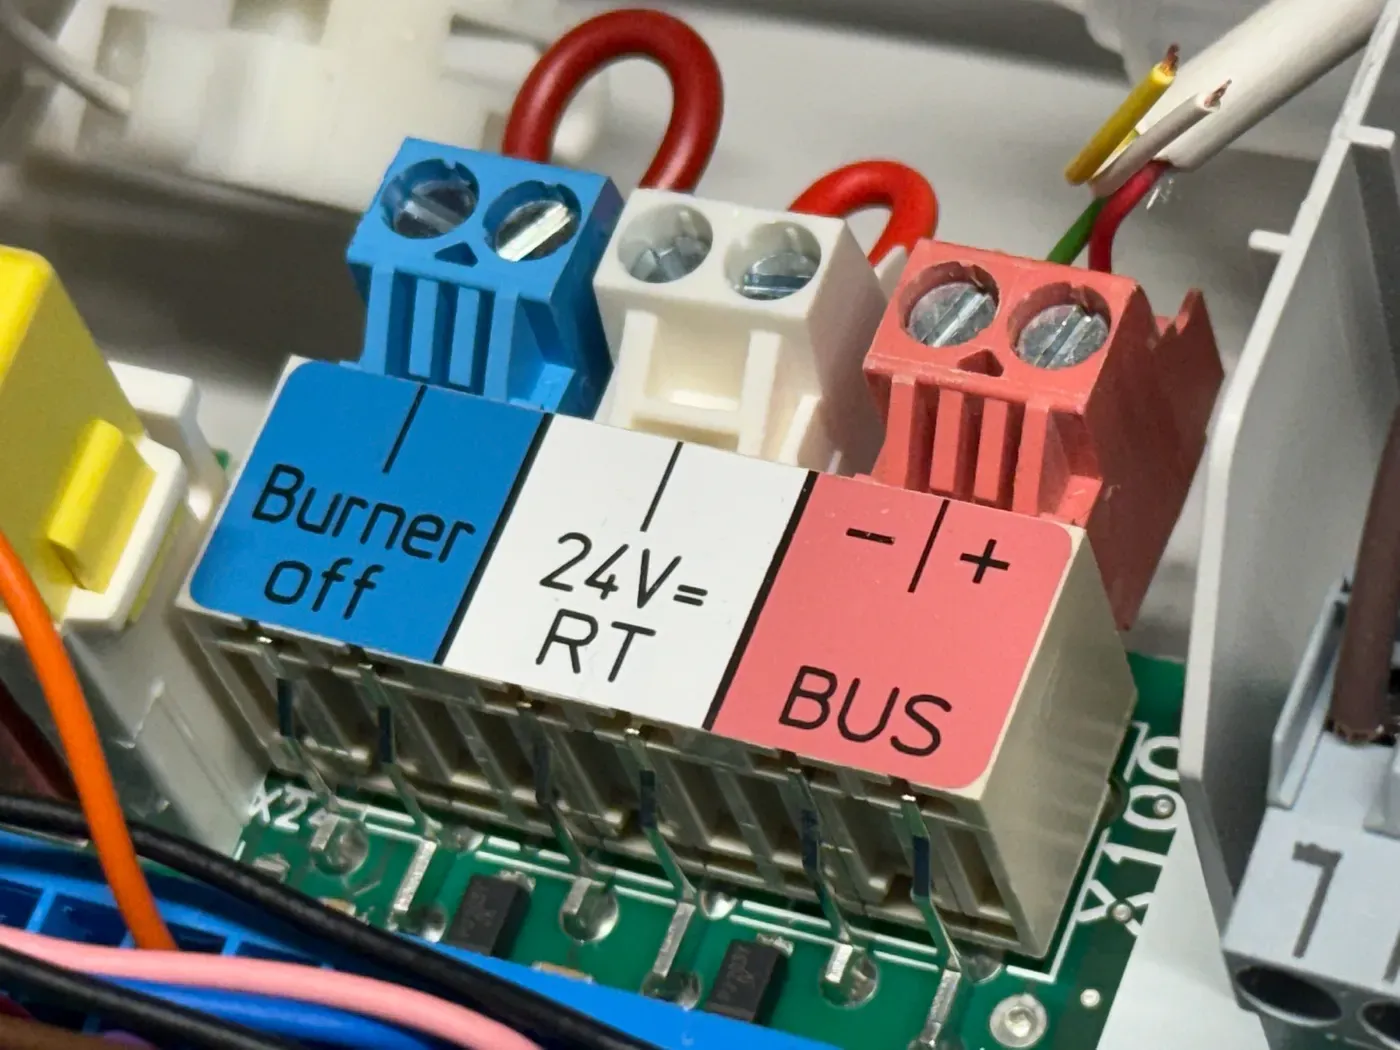
Here is the whole circuit as a schematic:

Wiring steps
- Turn off your boiler’s power before connecting anything. eBUS is low-voltage, but it’s still safer to avoid live connections.
- Connect the eBUS terminals from the boiler to the shield’s screw connectors (marked
AandB). Polarity usually doesn’t matter for eBUS, but keep it consistent if you plan to add more devices later. - Attach the shield to the Stick v6. It clicks or screws directly onto the board.
- Plug the eBUSd stick into your Linux host’s USB-C port, or into a powered hub if you’re using a Raspberry Pi.
- Check the indicator LED on the stick. A steady light means bus voltage; a blinking light means active communication.
eBUSd translates between your boiler’s eBUS network and everything else. It listens to all messages on the bus, decodes them using your boiler model’s configuration files, and publishes the values to MQTT topics or exposes them over HTTP and the command line.
So you can read flow temperature, water pressure, burner modulation, and operating mode without touching the boiler’s internal electronics.
Installing and configuring eBUSd on a Linux host
With the hardware connected, the next step was the software side. I used eBUSd, an open-source daemon built to talk to heating systems over the Vaillant eBUS protocol. It’s lightweight and runs happily on a Raspberry Pi, a mini-PC, or any Linux host.
First, update your system and install the packages needed to build it:
sudo apt update
sudo apt install git cmake build-essential libssl-dev libtool autoconf automake
Then clone the official eBUSd repository and build from source:
git clone https://github.com/john30/ebusd.git
cd ebusd
mkdir build && cd build
cmake ..
make
sudo make install
That compiles the daemon and installs it as a system service. On a Raspberry Pi you can also install it straight from the Debian repositories:
sudo apt install ebusdThen edit /etc/ebusd/ebusd.conf:
EBUSD_OPTS="--scanconfig \
  -d ens:EBUSD_IP_ADDRESS:9999 \
  --pollinterval=30 \
  --mqtthost=HOMEASSISTANT_IP_ADDRESS --mqttport=1883 \
  --mqttuser=DEMO --mqttpass=DEMO \
  --mqttint=/etc/ebusd/mqtt-hassio.cfg --mqttjson \
  --httpport=8889"
MQTT in action: my Vaillant boiler data live in Home Assistant
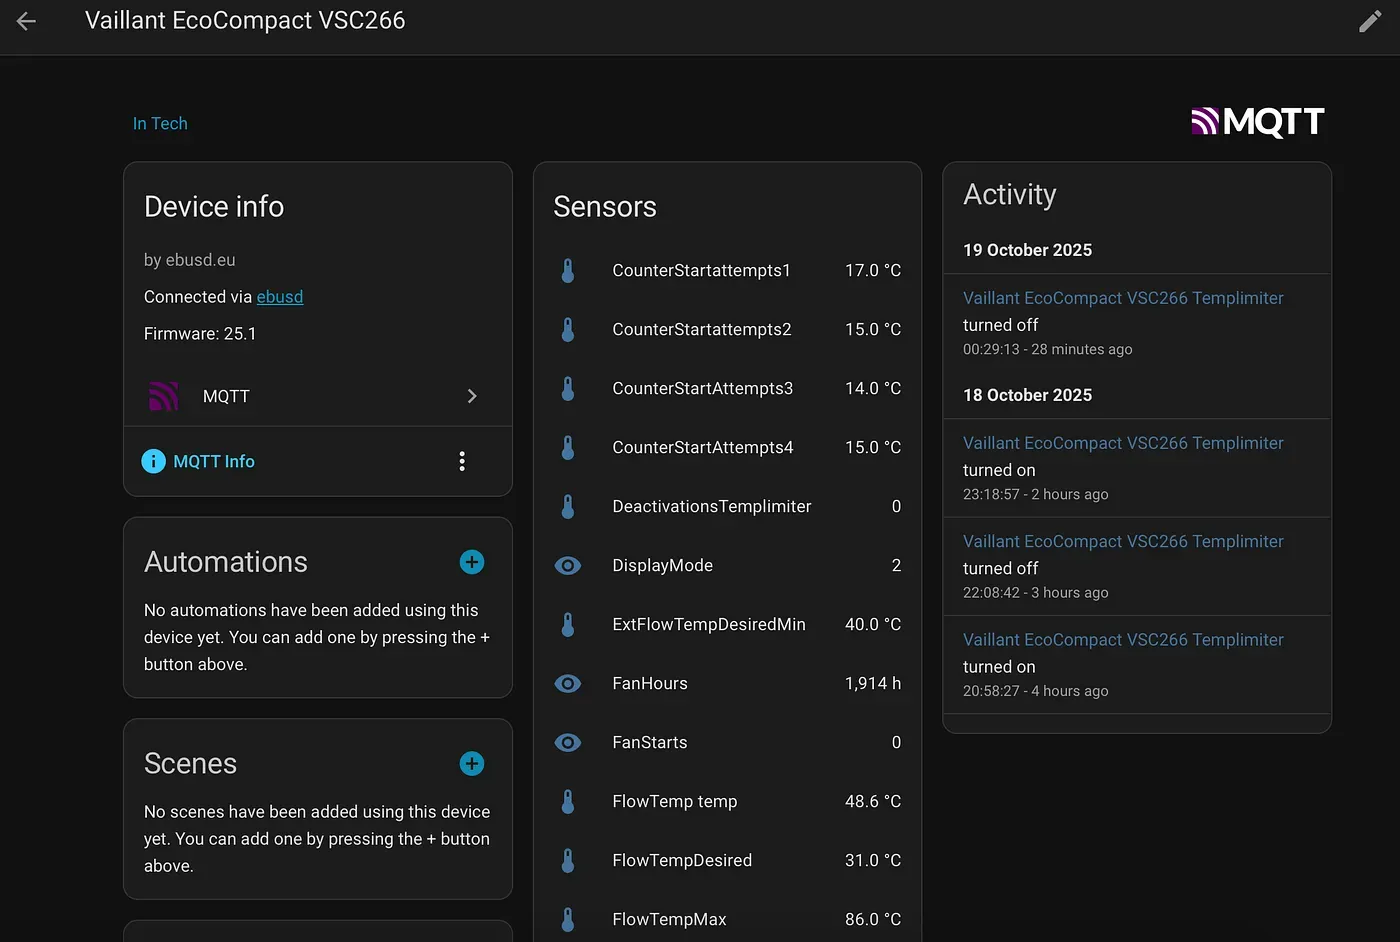
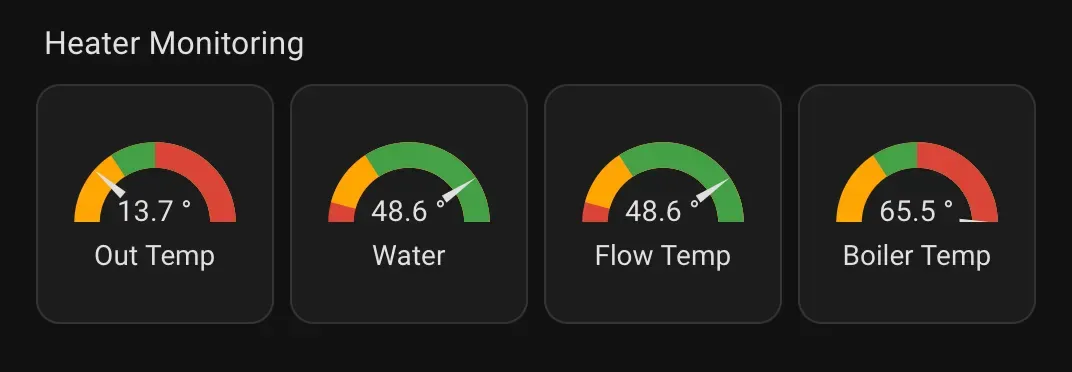
Visualizing your heating system
Now the fun part: turning the data into something you can read at a glance.
Wrapping up
That’s my full setup: a Vaillant boiler made smarter with an eBUS stick, ebusd, MQTT, and Home Assistant. It’s been rock-solid so far, and I’m already planning the next level, with automations, predictive heating, and maybe energy-aware optimization using solar input.
Update: I posted part 2, about building a better heating dashboard on top of this data, with the full YAML.
Follow along. New posts show up on the RSS feed. I also share my projects on GitHub, MakerWorld and LinkedIn.