
In this post
- The “smart” part lasted about 30 seconds
- The idea: make Home Assistant think it’s a normal light
- Installing the strip in the rack
- ESPHome: BLE client and virtual RGB light
- Translating RGB into BLE packets (bluetooth-virtual-light.h)
- What those weird numbers mean
- Why I store RGB first, then send on blue updates
- Home Assistant: it just looks like a light now
- Wrapping up
- Automation ideas (feel free to steal)
My server rack is basically a black hole. The cables go in, the light never comes out.
It lives in a dark corner, which is fine until you actually need to do something: trace a cable, read port labels, swap a drive, or just see what’s going on. And honestly, I also wanted it to look fancy.
So I decided to add some RGB lights. I didn’t buy a fancy RGB light though. I bought the cheapest “TV LED strip” I could find, because it was easy to get, and the box said “smart” (Bluetooth).
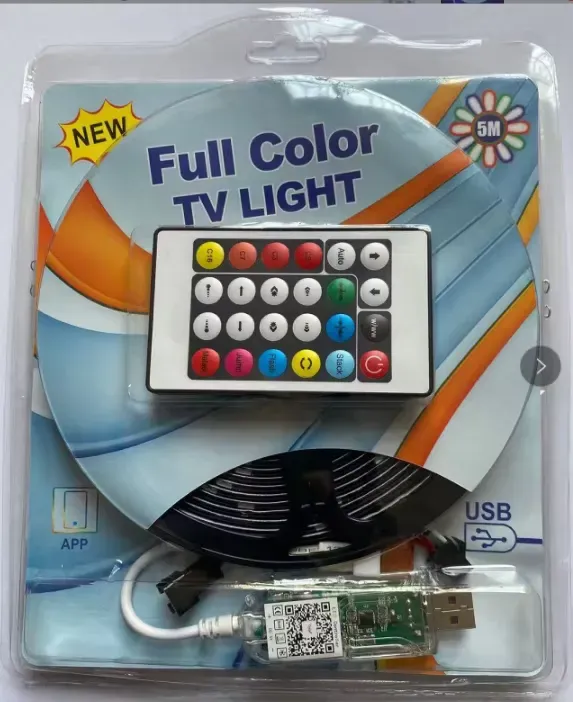
The “smart” part lasted about 30 seconds
Home Assistant was already running, so the plan was simple:
- add the strip
- automate it
- done
I tried the LED BLE integration and immediately hit:
“LED BLE Device not supported”
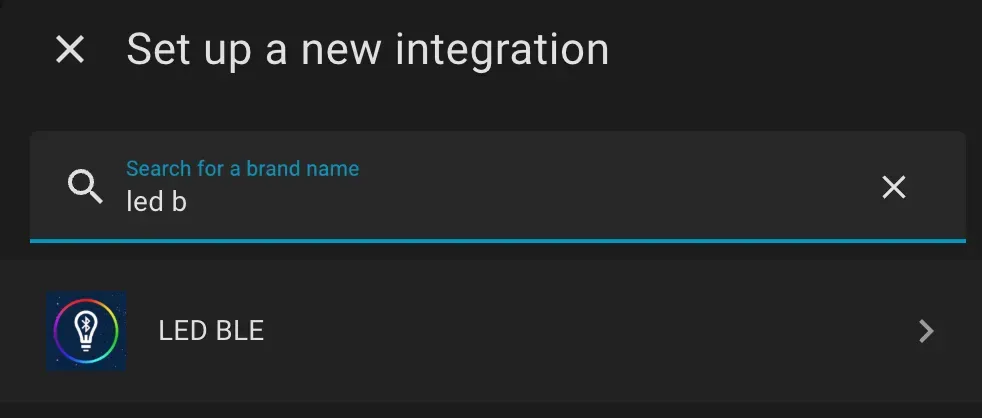
At first I assumed it was pairing. Then I found this thread where other people hit the same error, and the device just wasn’t supported by the integration.
So the situation was:
- the device is BLE
- Home Assistant can see it
- but the integration doesn’t understand its protocol
Which left me two options. Return it and buy something supported, or keep it and make it behave.
I chose option 2. 😄
The idea: make Home Assistant think it’s a normal light
Instead of forcing Home Assistant to speak my strip’s weird BLE dialect, I hid the BLE behind ESPHome:
- ESPHome connects to the LED controller over BLE (
ble_client) - ESPHome exposes a normal RGB light entity to Home Assistant
- Home Assistant controls it like any other light
- ESPHome translates RGB changes into BLE writes
So I built a virtual light device that Home Assistant already understands.
Installing the strip in the rack
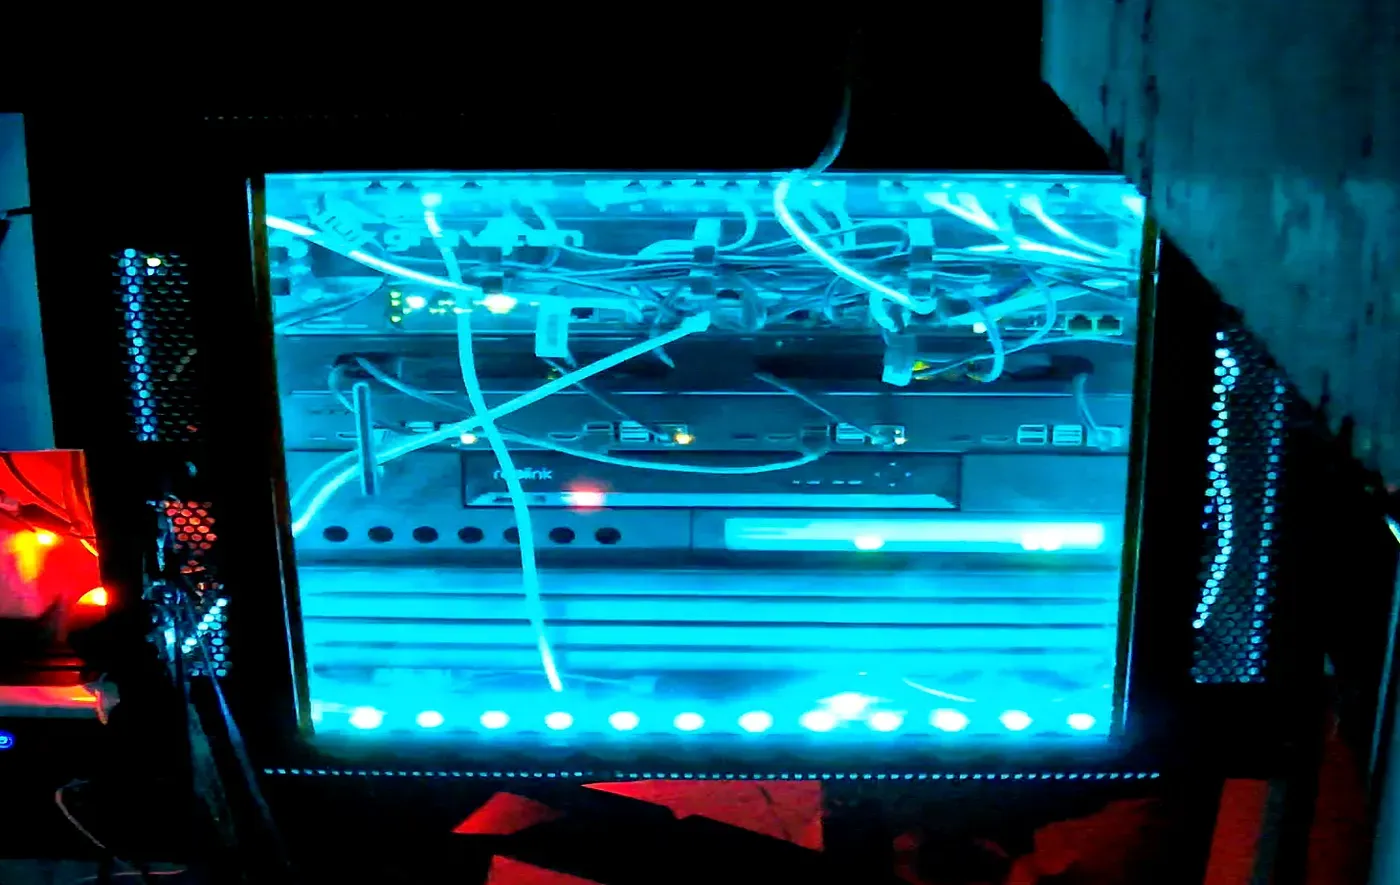
This was sold as a “TV strip”, but it works great as a rack light. I mounted mine so it lights up the whole front area and the cabling, without shining straight into my eyes.
ESPHome: BLE client and virtual RGB light
My LED controller takes commands as BLE GATT writes. The identifiers I needed were:
- Service UUID:
FFE0 - Characteristic UUID:
FFE1
The ESP32 connects as a BLE client and writes byte arrays to that characteristic.
Here’s the ESPHome config I’m using. You’ll need to set your own MAC via ${bluetooth_virtual_light_mac} and include the header file below.
One note: if you wrote “ESP8266” anywhere in your config (I did at first), it won’t work. BLE needs an ESP32.
esphome:
  includes:
    - bluetooth-virtual-light.h

globals:
  - id: effect_active
    type: bool
    restore_value: no
    initial_value: 'false'

binary_sensor:
  - platform: template
    name: "Led BLE Connected"
    id: led_ble_connected_sensor

ble_client:
  - mac_address: ${bluetooth_virtual_light_mac}
    id: led_strip_ble_client
    on_connect:
      then:
        - lambda: |-
            ESP_LOGD("virtual_ble_light", "Connected to BLE device");
        - binary_sensor.template.publish:
            id: led_ble_connected_sensor
            state: ON
        - switch.turn_off: led_ble_on_off_switch

    on_disconnect:
      then:
        - lambda: |-
            ESP_LOGD("virtual_ble_light", "Disconnected from BLE device");
        - binary_sensor.template.publish:
            id: led_ble_connected_sensor
            state: OFF

light:
  - platform: rgb
    id: rbg_led
    name: BLE LED
    red: red_channel_output
    green: green_channel_output
    blue: blue_channel_output

    on_state:
      - lambda: |-
          ESP_LOGD("virtual_ble_light", "State Send");

    on_turn_on:
      - lambda: |-
          if (!id(effect_active)) {
            id(led_ble_on_off_switch).turn_on();
          }

    on_turn_off:
      - lambda: |-
          if (!id(effect_active)) {
            id(led_ble_on_off_switch).turn_off();
          }

    effects:
      - lambda:
          name: "Breathing"
          update_interval: 16s
          lambda: |-
            id(effect_active) = true;
            static bool state = false;

            auto call = id(rbg_led).turn_on();
            call.set_brightness(state ? 1.0 : 0.2);
            call.perform();

            state = !state;

      - lambda:
          name: "RGB Breathing"
          update_interval: 16s
          lambda: |-
            id(effect_active) = true;
            static bool state = false;
            static int color = 0;

            const float colors[12][3] = {
              {0.0, 1.0, 1.0},  // Cyan
              {1.0, 0.5, 0.0},  // Orange
              {1.0, 1.0, 1.0},  // White
              {0.0, 1.0, 0.0},  // Green
              {1.0, 0.0, 0.0},  // Red
              {0.0, 0.0, 1.0},  // Blue
              {0.5, 0.0, 1.0},  // Purple
              {1.0, 0.0, 0.5}   // Pink
            };

            auto call = id(rbg_led).turn_on();

            if (state) {
              call.set_rgb(
                colors[color][0],
                colors[color][1],
                colors[color][2]
              );
              call.set_brightness(1.0);
              color = (color + 1) % 12;
            } else {
              call.set_brightness(0.2);
            }

            call.perform();
            state = !state;

output:
  - platform: template
    id: red_channel_output
    type: float
    min_power: 0.003
    zero_means_zero: true
    write_action:
      - lambda: |-
          SSDBluetoothVirtualLight::updateRed(state);

  - platform: template
    id: green_channel_output
    type: float
    min_power: 0.003
    zero_means_zero: true
    write_action:
      - lambda: |-
          SSDBluetoothVirtualLight::updateGreen(state);

  - platform: template
    id: blue_channel_output
    type: float
    min_power: 0.003
    zero_means_zero: true
    write_action:
      - lambda: |-
          SSDBluetoothVirtualLight::updateBlue(state);
      - ble_client.ble_write:
          id: led_strip_ble_client
          service_uuid: FFE0
          characteristic_uuid: FFE1
          value: !lambda |-
            return SSDBluetoothVirtualLight::getCreateColorUpdateArray();

switch:
  - platform: ble_client
    id: ble_client_enable
    ble_client_id: led_strip_ble_client
    internal: true

  - platform: template
    id: led_ble_on_off_switch
    name: "Turn On Led"
    internal: true
    restore_mode: ALWAYS_OFF
    turn_on_action:
      - ble_client.ble_write:
          id: led_strip_ble_client
          service_uuid: FFE0
          characteristic_uuid: FFE1
          value: !lambda |-
            return SSDBluetoothVirtualLight::turnOnArray;

    turn_off_action:
      - ble_client.ble_write:
          id: led_strip_ble_client
          service_uuid: FFE0
          characteristic_uuid: FFE1
          value: !lambda |-
            return SSDBluetoothVirtualLight::turnOffArray;
      - lambda: |-
          ESP_LOGD(SSDBluetoothVirtualLight::logTag, "SEND MESSAGE TO TURN OFF");
Translating RGB into BLE packets (bluetooth-virtual-light.h)
ESPHome already knows how to be a light. The missing piece was turning “set RGB to (x,y,z)” into bytes my BLE controller understands.
So I wrote a small helper header that:
- stores the current red, green, and blue values as floats from 0.0 to 1.0
- converts them to bytes from 0 to 255
- builds the payload the LED controller expects
- hands it back to the ESPHome
ble_write
#include <vector>

namespace SSDBluetoothVirtualLight {
  const char* logTag = "ssd_virtual_bluetooth_light";

  // Hard-coded command packets for this BLE controller
  const std::vector<uint8_t> turnOffArray = {126, 255, 4, 0, 255, 255, 255, 255, 239};
  const std::vector<uint8_t> turnOnArray  = {126, 255, 4, 1, 255, 255, 255, 255, 239};
  const std::vector<uint8_t> noColorArray = {126, 255, 5, 3, 0, 0, 0, 255, 239};

  float red = 0;
  float green = 0;
  float blue = 0;

  std::vector<uint8_t> getCreateColorUpdateArray() {
    uint8_t convertedRed   = static_cast<uint8_t>(red   * 255);
    uint8_t convertedGreen = static_cast<uint8_t>(green * 255);
    uint8_t convertedBlue  = static_cast<uint8_t>(blue  * 255);

    // Packet format: [126,255,5,3, R,G,B, 255,239]
    return {126, 255, 5, 3, convertedRed, convertedGreen, convertedBlue, 255, 239};
  }

  void updateRed(float value)   { red = value; }
  void updateGreen(float value) { green = value; }
  void updateBlue(float value)  { blue = value; }
}
What those weird numbers mean
This controller speaks in short 9-byte messages.
126(0x7E) looks like a start byte239(0xEF) looks like an end byte- the middle bytes are the command and its parameters
Three useful packets:
ON: {126, 255, 4, 1, ... , 239}
OFF: {126, 255, 4, 0, ... , 239}
Set RGB color:
{126, 255, 5, 3, R, G, B, 255, 239}
ESPHome gives channel values as floats. The header converts them to 0 to 255 and drops them into the packet.
Why I store RGB first, then send on blue updates
Home Assistant updates the RGB channels separately:
- the red output updates red
- the green output updates green
- the blue output updates blue and triggers the BLE write
That way each BLE write carries a complete color instead of a half-updated one.
Home Assistant: it just looks like a light now
Once the ESPHome device is online, Home Assistant discovers it normally. You get:
light.ble_led, a normal RGB lightbinary_sensor.led_ble_connected, useful for monitoring
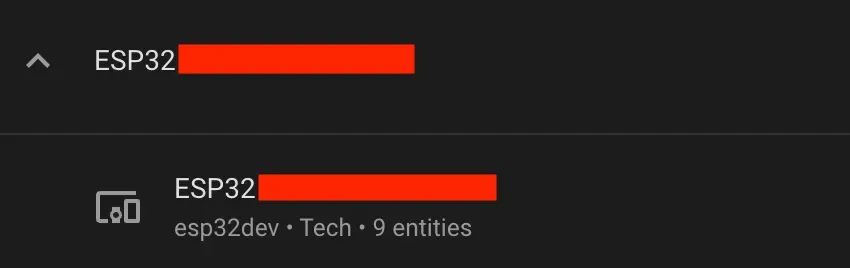
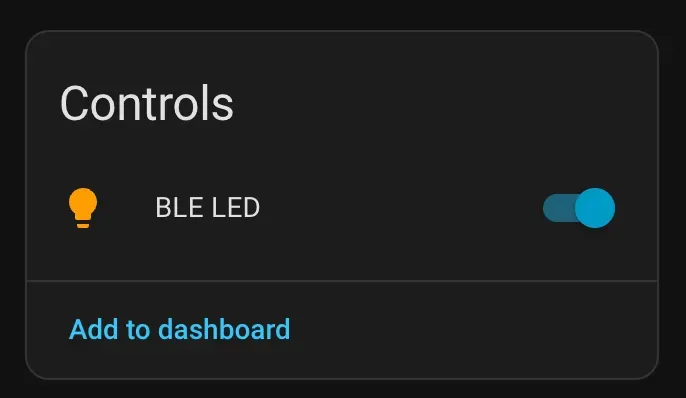
And now the automations are boring, in a good way.
Wrapping up
This started as “add cheap TV lights to Home Assistant” and turned into “build a BLE-to-Home-Assistant bridge with ESPHome”.
That’s why I like ESPHome. When something is unsupported, you can usually translate it into a device Home Assistant already knows how to talk to.
My rack is now usable at night, automated, and ready to become a status panel later.
Automation ideas (feel free to steal)
Now that it’s just a normal light entity, it can double as a rack status LED:
- Quiet night mode: after midnight, motion turns it on at 10% only
- Rack door sensor: door open turns it on, door closed turns it off
- Solar panel indicator: blue pulse on battery, red flash when low
- Internet status: dim purple if the WAN is down
- Backup indicator: breathing during a backup, green blink when it finishes
- Temperature warning: shift from green to yellow to red based on CPU or rack temperature
Follow along. New posts show up on the RSS feed. I also share my projects on GitHub, MakerWorld and LinkedIn.